How to install MythTV on Ubuntu Server Lucid/Karmic
Whilst you can install MythTV using one of the custom-made Linux distributions such as Mythbuntu you can also easily install MythTV on a “standard” Linux distribution such as Ubuntu Lucid 10.04, Karmic 9.10, Jaunty 9.04 or Intrepid 8.10 and this is what I’m going to cover here.
Installing and configuring MythTV will be a LOT easier if you install a “desktop” or Window Manager onto your server. Personally I’m using VNC which provides a “virtual gnome desktop” onto your Ubuntu Server installation. The guide covering how to do this can be found here: How to install VNC. You could alternatively go with something like Ratpoison
The rest of this guide assumes you’re running a gnome desktop either directly or via VNC.
MythTV can be installed via the Synaptic Package Manager. So, from the gnome menu choose System -> Administration and launch the Synaptic Package Manager. Type mythtv in the Quick Search box and then place a check against mythtv in the list of results returned and click Mark For Installation. Choose the additional packages too. Next click the Apply button and then the Apply button once again for confirmation.
NOTE: If you don’t have the Synaptic Package Manager (it is not installed by default under Lucid or Karmic) then you can install it by issuing sudo apt install synaptic from a Terminal or Putty session.
Once the MythTV package has been downloaded the MythTV Installer will run and will ask you a series of questions:
- If you’ve not been following this guide from the start you’ll be prompted for a password for mysql. Please leave the password blank and click Forward.
- Will you be using other computers running MythTV? Check the box and click Forward.
- Click Forward against the next question about configuring the Mythtv-backend.
- Click Forward against the next question about configuring the Mythtv-common.
Once that’s done we’re ready to configure MythTV. So, within the VNC Session or your regular Gnome desktop, run the MythTV Backend Setup (System -> Administration -> MythTV Backend Setup).
The first time you run the Backend Setup you’ll receive a warning about you not being a member of the mythtv group. Click OK. You’ll then be forced to log off and back on again. If you’re using VNC then this step will break the VNC session. So manually close VNC, start a Putty Session and type the following command to restart the server:
sudo reboot -h now
How to configure MythTV
Once the server has rebooted go back into the VNC session, or your regular Gnome desktop, and run the MythTV Backend Setup once more. You should then be greeted with a nice graphical interface. So, let’s go through the individual screens to configure it:
1. General
Change the TV Format and Channel frequency table based on your location. I’m in the UK so I set the TV Format to PAL and the Channel frequency table to europe-west. You can leave all other options at their defaults.

2. Capture Cards
Select New Capture Card.
Choose the relevant Card Type based on the card you’re using. I’m using a regular DVB-T card so chose DVB DVT capture card (v3.x) from the drop-down list. If you have a multiple-tuner card installed then go into the Recording Options option and check that the Max Recordings option matches the number of tuners you have.
If you have more than one tuner card installed then you need to repeat the “New Capture Card” step for each of them. Don’t forget to change the DVB Device Number for each additional card.

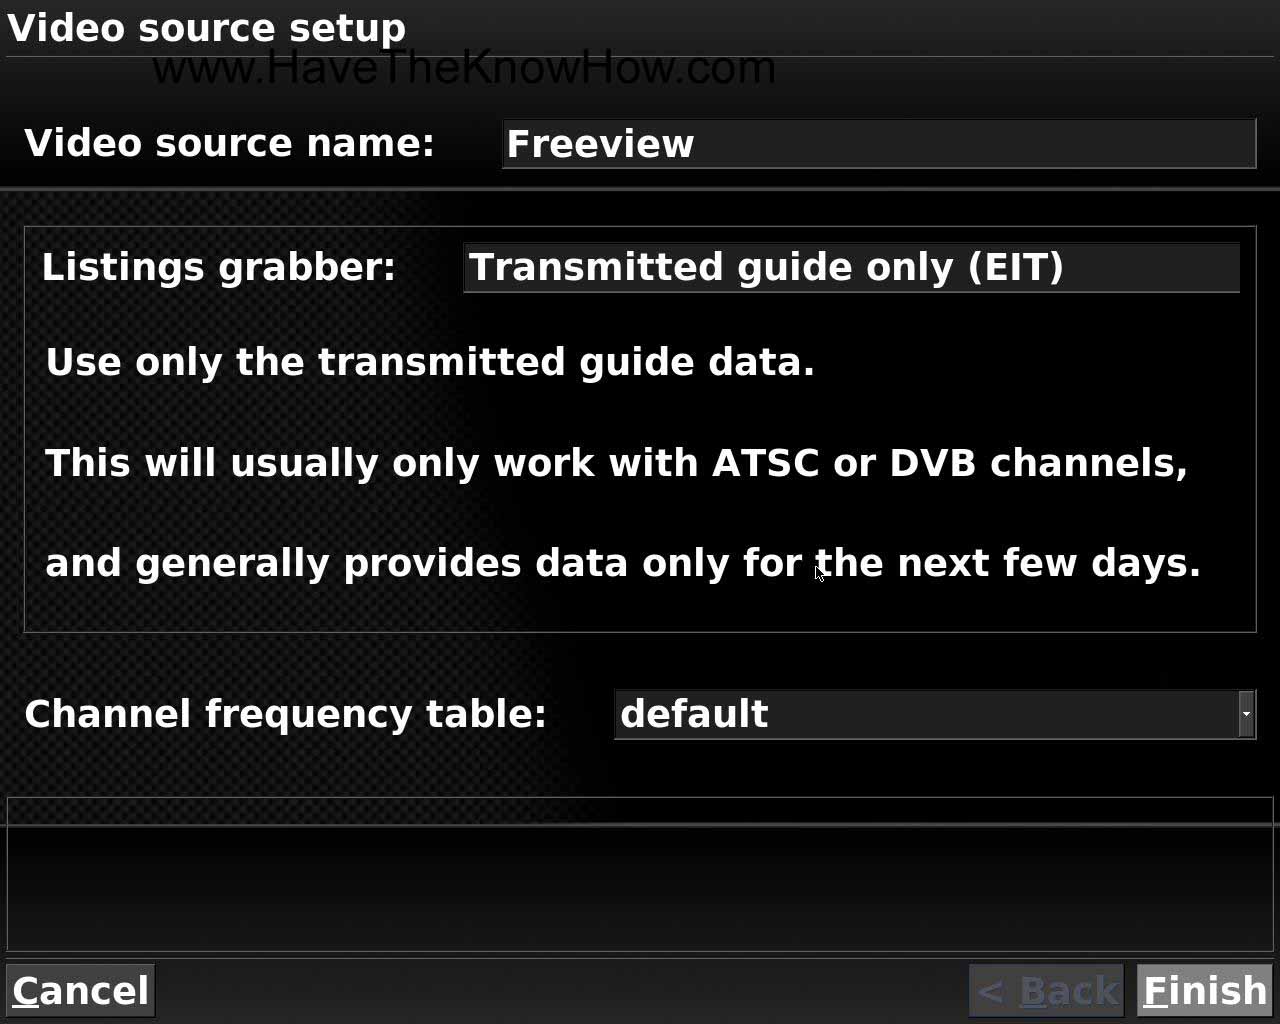
3. Video sources
Select New video source
This screen is where you specify the source of the TV listings. Give the video source a name. For the Listings Grabber I’m in the UK so chose Transmitted guide only (EIT). The channel frequency table can stay at the default.
4. Input connections
This screen is where you link your tuner(s) and Video sources together, so you need to repeat this step for each tuner card you have.
Enter a suitable Display Name. Select the Video Source you entered above from the Video Source drop-down and then click Next

With my tuner card, when I hit the Scan For Channels button it didn’t find any channels at all. Hopefully you’ll not have this issue and it’ll find loads of channels. If not then see the workaround here: When ‘Scan For Channels’ does not find anything
NOTE: if you get a “failed to open the card” error when you try and scan for channels you’re probably hitting the same issue I had. For some reason the tuner card is installed with the wrong permissions. To solve this problem you need to run the MythTV backend setup as root from a Terminal Session within gnome (Applications -> Accessories) by typing:
sudo mythtv-setup
and then go back into the Input Connections screen once more and try the Scan for Channels option again.
Alternatively, try adding your username to the video group:
sudo adduser YourUserNameHere video
where YourUserNameHere is your username, obviously. Then reboot for the changes to take effect and then re-run the MythTV Backend Setup once more.
Click Next and leave both Input Groups as Generic

Click Finish.
Now hit the [Escape] key to quit the backend-setup. Answer Yes when prompted to run mythfilldatabase.
Now let’s see whether everything is working properly. So, go into the MythTV frontend (Applications -> Sound & Video) and select Watch TV. Hopefully you’ll see a picture:

if so then you’re done!
Once you’ve got MythTV installed there are plenty of tweaks you can make to MythTV, many of which require very little explanation. However, there are a few which are a little more tricky to configure, plus a couple of bugs:
Give your recordings a human readable filename
Convert your recordings to another format using nuvexport
Tuners not initialized following a restart of the server
XMLTV requires a Date::Manip timezone of +0000 to work properly
How to configure MythWeb
I’m not using the MythTV Front-end to schedule and view TV Shows but instead am viewing them using my media streamers. These streamers are not “MythTV-aware” and so I need a simple way to organise my viewing schedule. MythWeb is an excellent tool for this purpose and is available from the Synaptic Package Manager. Just type mythweb in the Quick Search box from within the Synaptic Package Manager and then place a check against mythweb in the list of results returned. Then click Mark For Installation and then click the Apply button and then the Apply button once again for confirmation.
As part of the installation for MythWeb you’ll be asked whether you want to password-protect mythweb so check the box.
You’ll also be asked whether you will be “using this webserver exclusively with mythweb”. Uncheck this box, click Forward and supply a username and a password.
Once it has installed you can access MythWeb by typing http://MyMediaserver/mythweb into the address bar of your browser where MyMediaserver is the name you gave to your server when you installed Ubuntu. Alternatively the IP address of the server works just as well.